

Your Sourdough Journey

Feeding Your Starter
You just got yourself a starter—now what?
Perfect! Next step: grab a bigger jar. We’re going to feed your starter so you have enough for your recipe and plenty left over to keep growing.
BTW: This feeding process will only take you like 5 to 10 mins.
Step 2: pour half of your starter into your bigger jar.
A quick tip: the refrigerator is basically your pause button! If you ever pull your starter out and don't end up having time to deal with it, just pop it in the fridge. I'd just say try not to let it sit out on the counter for longer than a day without feeding it.

Step 3: place a rubber band around the glass right at the top level of your starter so you have a visual reference.
Next, take note of the consistency of your starter. We’re going to add flour and water to double the total amount of substance in the jar, while keeping that exact same consistency. As you're getting started, I recommend adding a little bit of flour and a little bit of water at a time, alternating between the two until you double the amount.
I like to mix mine in with a wooden chopstick, but you can use a wooden spoon or anything similar!


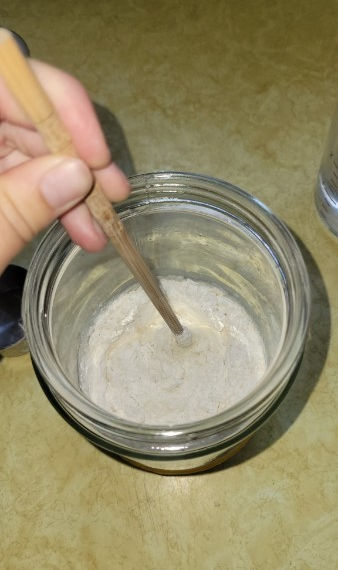


Step 4: once you've added the doubled amount, move your rubberband to the new height and close the lid, loosely and let sit for a couple hours until it doubles in size again by rising. (The time it takes really just depends on how hot your kitchen is) and then walk away!


And there you have your active starter!
From here, you have a few great options:
-
Make a loaf of bread.
-
Let it hang out and use it for a discard recipe later—like crumpets!
-
Put it back in the fridge to pause.
-
Keep it out and feed it again to build even more starter.
You need about 1/2 cup to make one loaf of bread, and about 1 cup to make crumpets. Just make sure there's enough left over after your recipe so you can keep the cycle rolling!